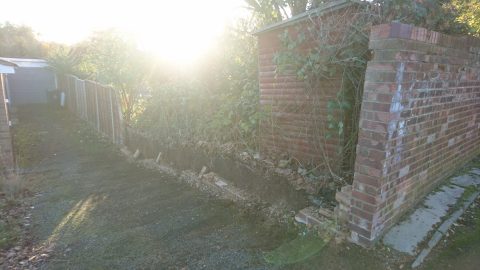
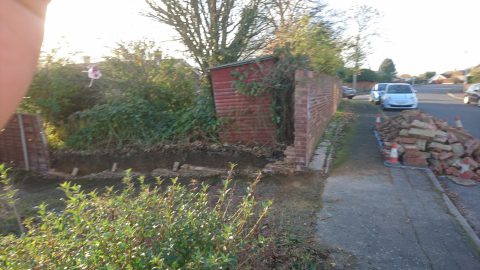
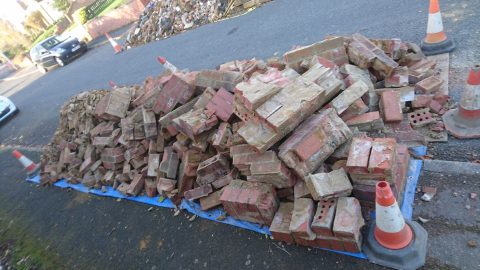
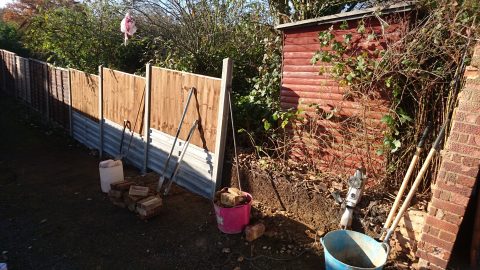
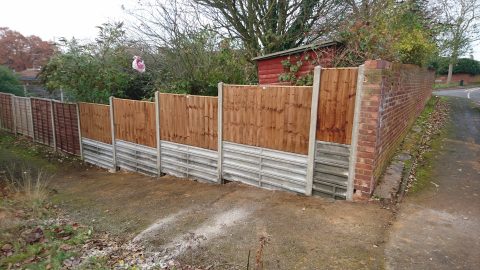
Jarrett Fencing has just carried out work for a local Letting agency in Stevenage, where we had to take down and remove from site a brick wall and replace with concrete gravel boards to retain soil levels, then fit closeboard panels on top. All supported by concrete slotted posts.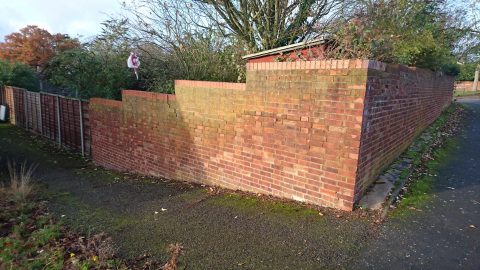
Category: General Interest
Items of general interest.
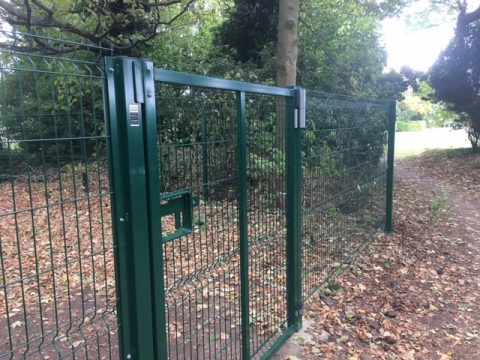
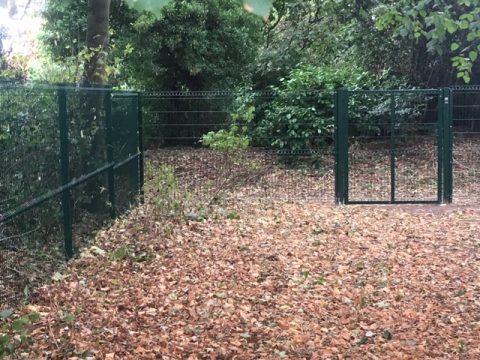
Green 1.8mt high Proteck 1000 mesh fencing in Letchworth Hertfordshire
We have recently finished a job In Letchworth for a housing association.
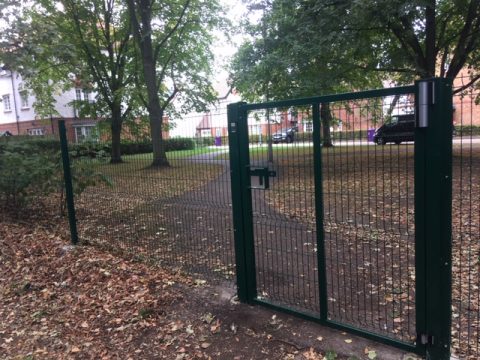
After clearing old existing chain-link fencing we supplied and fitted 98mts of 1.8mt high Proteck 1000 mesh fencing system powder coated green along with a matching self closing gate. 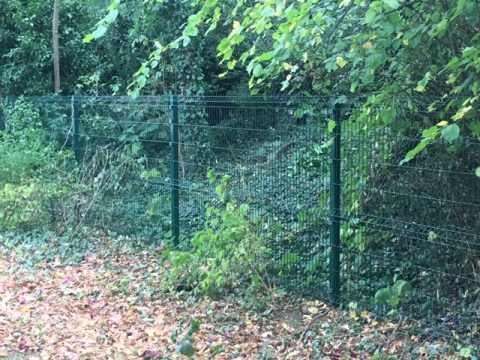
Harwood Park Crematoriam
We Have recently carried out trellis fencing work for Austins Funeral Directors at their Crematorium which is based in Watton Road Knebworth Hertfordshire.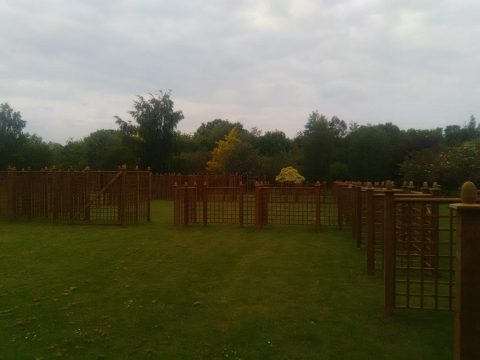
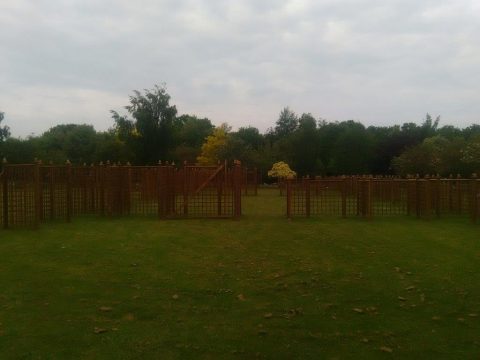
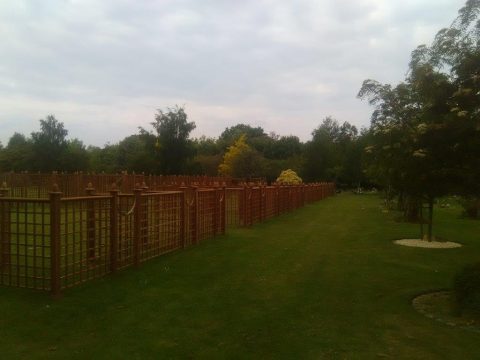
We were asked to supply and install new memorial garden trellis work, comprising, fresh sawn Iroko hardwood timber.
Each and every trellis was designed and hand crafted by Jarrett fencing and then installed on site, along with every post and acorn post cap.
There are various trellis of different sizes, some with curved tops and others with flat tops and finished with a capping rail above the 
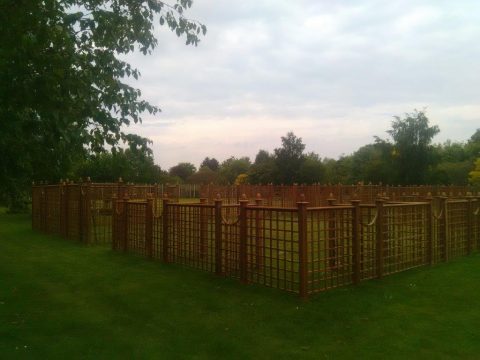
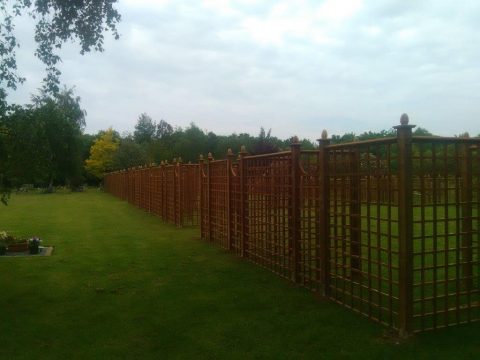
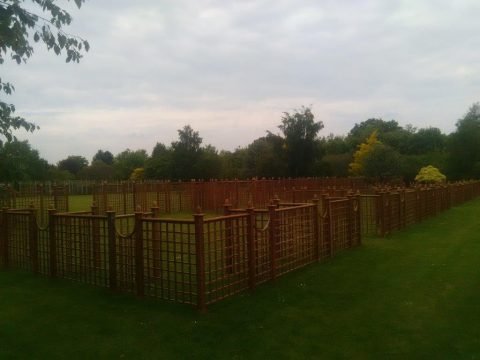
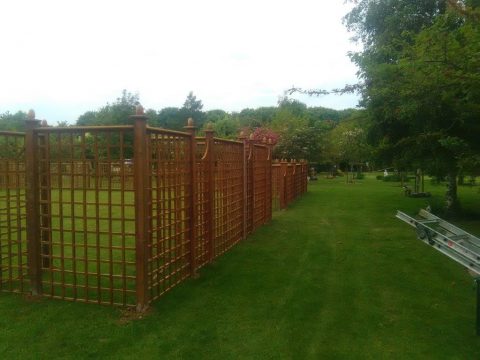 trellis.
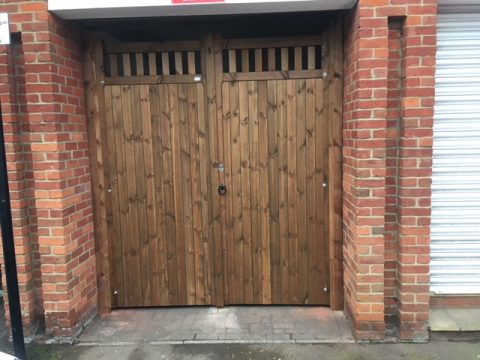
Graveley gates in stevenage old town
Jarrett fencing recently carried out a job for a local music shop in Stevenage Hertfordshire.
We had to make a bespoke pair of heavy duty Graveley gates supplied with gate fittings including a long throw key lock
How To Install Panel Fencing
Choosing Fence Panels | Options for Timber Buildings | How to Install Panel Fencing | Assembling Timber Buildings | How to Guides
A step-by-step guide to installing panel fencing on timber or concrete posts.
Tools Required
- String line
- Spirit level
- Hammer
- Grafter or spade
- Shovel holer
- Tape measure
- Saw
Fixings Required
- Panel clips
- 40mm galvanised nails
Step 1
Ensure the area is clear from obstructions such as old fence posts, bushes, or anything that may interfere with the new fence line.
Step 2
Check all underground services. The area must be clear of pipes and cables for at least two feet underground. Erect the string line to mark the fence boundary.
Step 3
Select your concrete or timber post.
Step 4
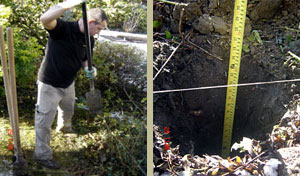
Dig a two foot deep hole and insert post.
Step 5
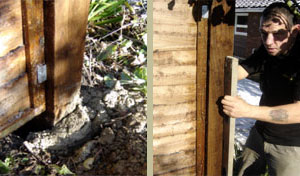
Ensure that the post is the correct height for the fence, allowing for gravel boards if used. Use a spirit level to make sure the post is upright. Put Rapid Set Post Kwik into the hole, add the correct amount of water and mix.
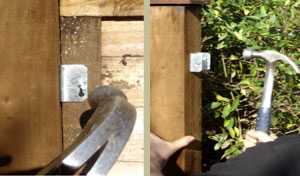
Step 6
Step 6 Attaching panel clips.
Concrete slotted posts do not require panel clips. For wooden posts attach the panel clips to the posts and then fix the panels to the clips. Keep a spirit level on top of the panel to make sure the fence remains level on top.
Step 7
Repeat steps 4, 5 and 6 until all your panels are installed. The last panel may need to be reduced in width to finish off the gap. This can be done with a handsaw.
Choosing Fence Panels
Choosing Fence Panels | Options for Timber Buildings | How to Install Panel Fencing | Assembling Timber Buildings | How to Guides
Here are some fairly basic things to consider when thinking of buying a new fence.
The old adage good “fencing makes good neighbours” may be true but it must surely be wise to tell your neighbours what you would like to do. When they realise that they will benefit from having the new fence themselves they will probably be enthusiastic.
Number of panels and posts required
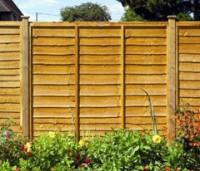 Measure the length of the proposed new fence line. As a rule your new panels will be about six feet wide, so divide the length of your fence in feet by six to get the number of panels you need. For example, for a fence 48 feet long you will need eight panels. You will probably want new posts eight panels will need nine posts if you want posts at both ends.
Types of post
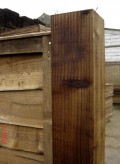
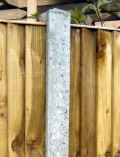 You have a choice between the strength and longevity of concrete posts and the natural appearance of wooden posts. For wooden posts you have a choice of two sizes, 4 inch square or the cheaper 3 inch square. You also have a choice of post caps.
Using gravel boards underneath the fence panels is a good way of ensuring that your panels will not rot prematurely. Both wood and concrete gravel boards are available.
Remember, your fence is only as good as your posts, so if you opt for one of the more expensive panels use the appropriate posts.
Methods of securing posts
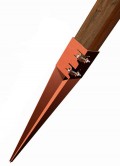 There are two methods of securing your posts into the ground. One is to concrete them in, the other is to use metal post anchors. Metal post anchors are only suitable for wooden posts. Choose the correct length of post for the job. If you are concreting them in the posts will need to be 2 ft longer than the height of the fence. If you use metal post anchors the posts will not need to be as long.
Fitting Panels to Posts
For wooden posts fix the fence panels to the posts using panel clips to avoid splitting the wood. Concrete slotted posts do not need fixings – the panels slot straight into the posts.
Wrought Iron fencing and Gates
For that added bit of style and class why not choose one of the products from our large and very popular range of decorative wrought iron fencing and gate products and view the many different options available to choose from. Perfect for fitting between brick piers and around front gardens. Free delivery on all Wrought Ironwork.
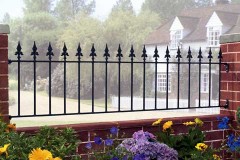
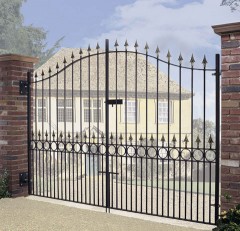
Wrought Iron Manor Fence Special Offer
Special offers on selected wrought iron products
Buy the Manor Fence Panel now for a £10.00 saving while stocks last
£100.00 £90.00 inc. vat
Free delivery
Specifications
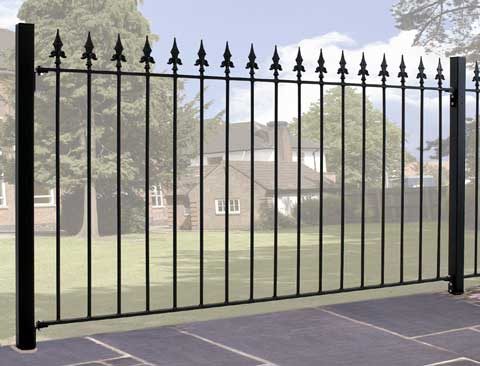
- Solid Steel construction.
- Frames 25mm x 10mm with 12mm diameter infill bars.
- Primed or Powder Coated black. After fitting a further coat of good quality gloss paint is required.
The width refers to the actual opening and not to the fence width. Height is to the top of the ball.
Fittings
- All panels and railings are supplied with a pack of screw-on/bolt-on fittings to fix to existing timber, steel posts or brickwork.
Most gates, fences and railings are in stock and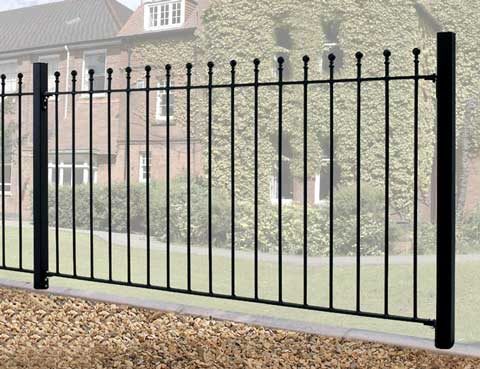 available for 7-10 days UK mainland delivery.
For bespoke sizes please contact us with your postcode and contact details stating all sizes and quantities you require and we will get back to you with a price. Remember delivery is included!
An installation service is available for the North Hertfordshire area.
Wrought Iron Saxon Fence Special Offer
Special offers on selected wrought iron products
Buy the Saxon Fence Panel now for a £10.00 saving while stocks last
£100.00 £90.00 inc. vat
Free delivery
Specifications
- Solid Steel construction.
- Frames 25mm x 10mm with 12mm diameter infill bars.
- Primed or Powder Coated black. After fitting a further coat of good quality gloss paint is required.
The width refers to the actual opening and not to the fence width. Height is to the top of the ball.
Fittings
- All panels and railings are supplied with a pack of screw-on/bolt-on fittings to fix to existing timber, steel posts or brickwork.
Most gates, fences and railings are in stock and available for 7-10 days UK mainland delivery.
For bespoke sizes please contact us with your post code and contact details stating all sizes and quantities you require and we will get back to you with a price. Remember delivery is included!
An installation service is available for the North Hertfordshire area.
Glazing Kit for Shed Windows
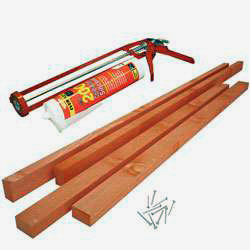 We have now introduced a glazing kit for our sheds which have windows
The standard fixing kit you will receive with your building includes panel pins to secure your choice of glazing material into position. However, you do need to then seal the windows in order to make them weather-proof. We advise that you use a suitable sealant such as silicone, mastic, putty, etc. You may also wish to use beading to reinforce the panes.
You can use your own products to seal the windows or you could take away the burden of having to source beading and sealant elsewhere by purchasing our Window Glazing Kit. The kit comprises of sufficient window beading for the building ordered, Professional Exterior Silicone, and a Power Pro application gun. Not only is the beading manufactured using the same high-quality timber as the Shed, but the Silicone is a premium quality high modulus acetoxy cure silicone sealant, which is designed to prevent mould and fungal growth.
The Window Glazing Kit is an economic and convenient solution to sourcing essential beading and sealant.